Article ID: SWH-KB-000037944
Content to be checked in Exacq
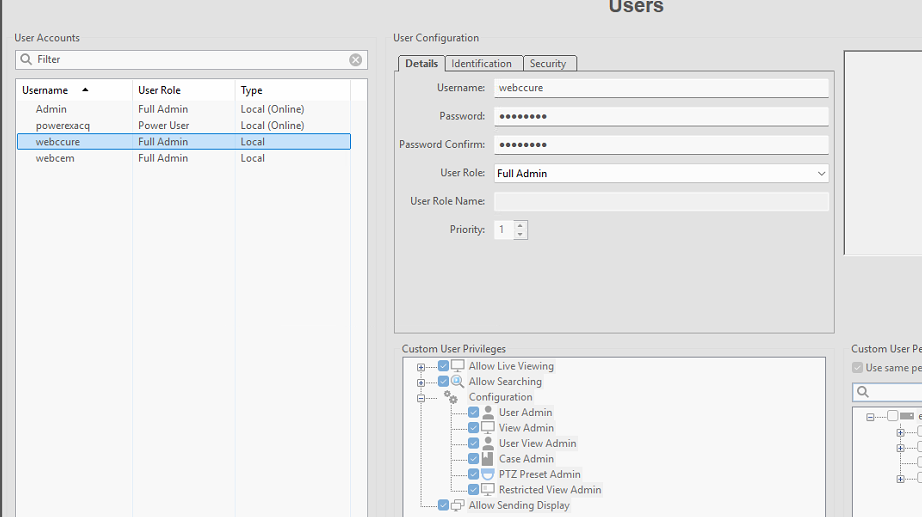
Step 1: Create a user in the Exacq system specifically for the integration.
This user should have full admin rights.
Example: User: webccure (as shown in the snapshot).
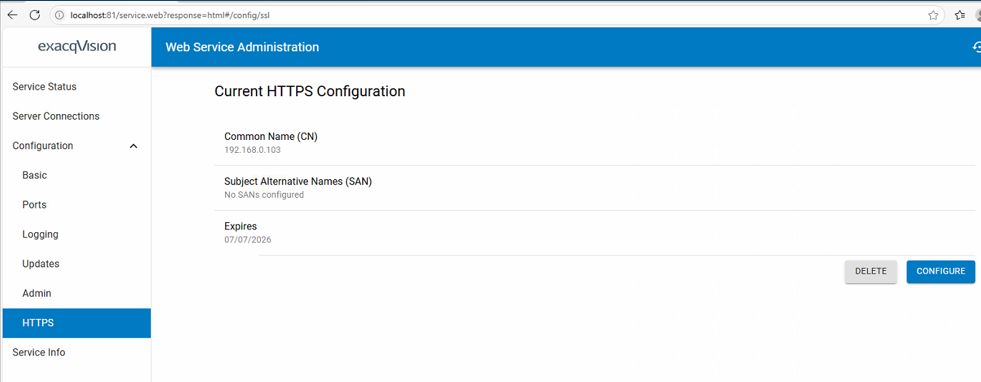
Step 2: Ensure to add the Certificate in the Exacq web service.
The details of adding the SSL certificate are in the document link:https://support.exacq.com/#/knowledge-base/article/13924
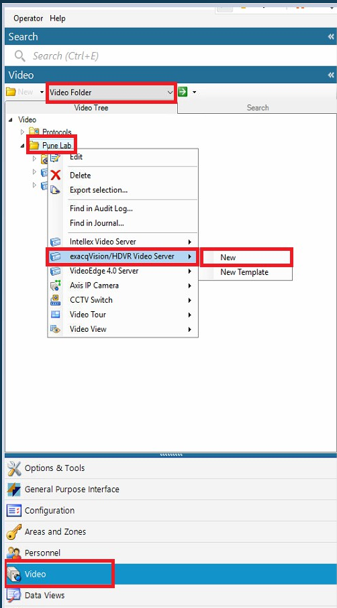
Configuration to be checked in C•CURE
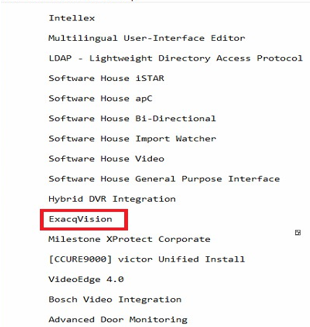
Step 1: Make sure you have the Exacq integration license enabled on the C•CURE side.
Step 2: Navigate to the Video option.
Select the Video folder.
Right-click on the folder → choose Exacq Vision/HDVR Video Server → Click New.
Step 3: Enter the Exacq server details and set the correct time zone.
Ensure that port 22609 is open.
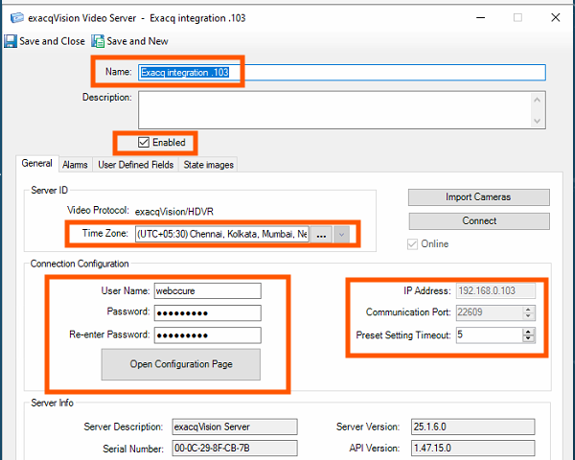
Step 4: Click Connect.
The system will retrieve and display the Exacq Server Information.
Then click on Import it will import all the cameras.
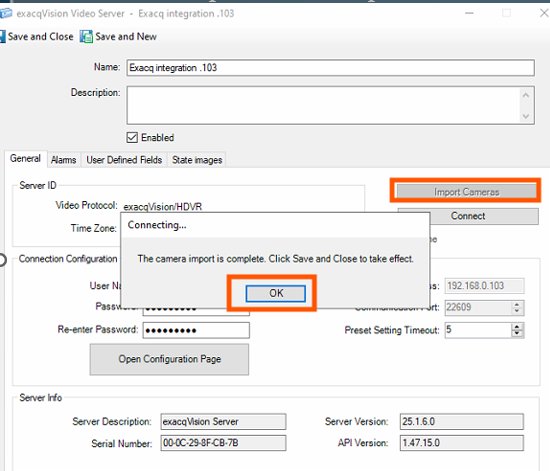
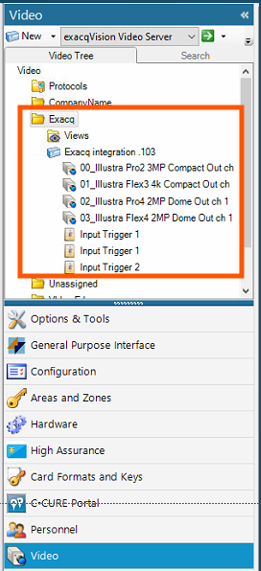
Step 5: Once the import is complete, the camera details will be visible.
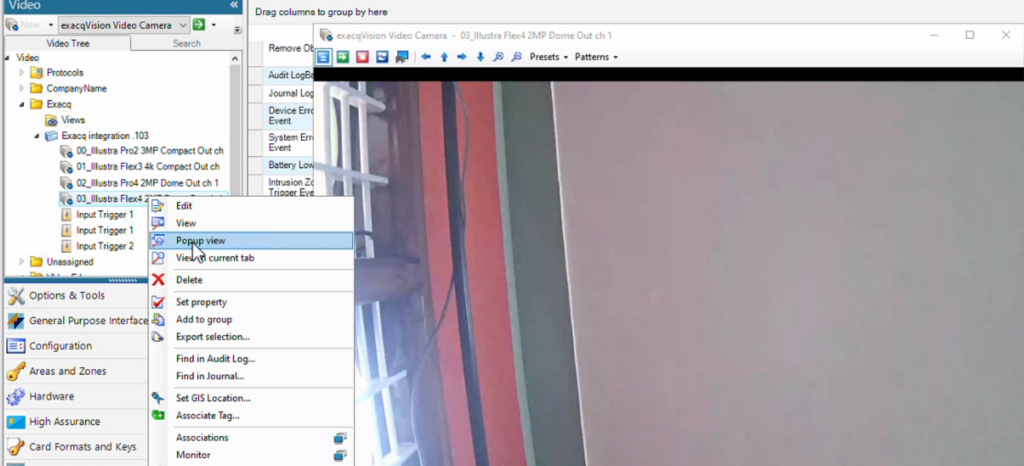
Creating a Video View of the Camera.
Step 6: Right click on the camera which is imported and click on popup view. To confirm that you are able to see the camera.
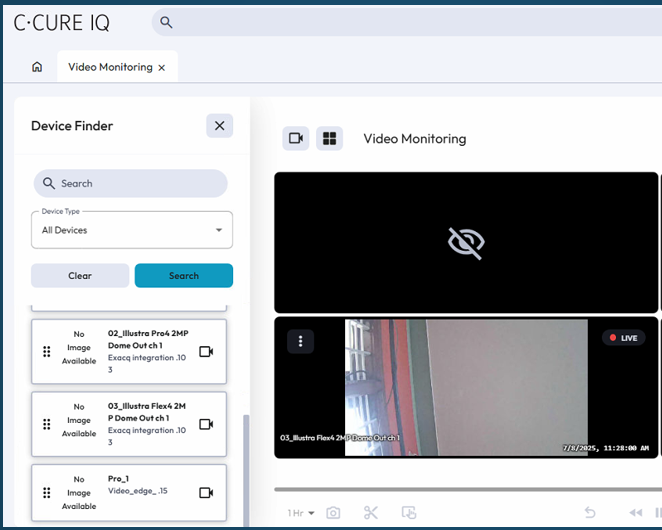
Step 7: Login to C•CURE IQ and navigate to Video Monitoring.
Drag and drop the camera which you want to see in the Video monitoring station.